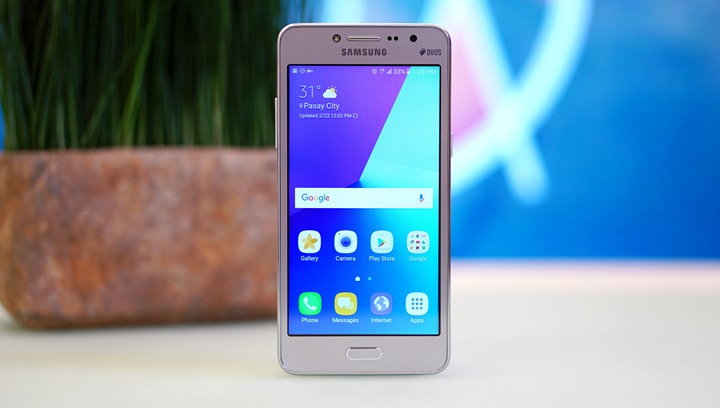
If you want to unlock Samsung Galaxy J2 Prime (SM-G532G), you will need to install Z3X Shell, activated the box and also install Samsung Tool Pro. For unlocking your Samsung or Unlocking Samsung galaxy phone, it is imperative that you know the entire process.
- First of all, we need to know what files need to be downloaded.
- Then it is important to know how to root the Samsung phone safely.
- Lastly, you will learn how to unlock your phone through the Samsung tool pro software for the Z3X.
What files need to be downloaded
You will require to download three files.
- Samsung Android USB driver – It helps the phone to communicate with the computer.
- TWRP 3.2.3-1 – It helps us to flash Magisk to root the phone.
- Magisk Manager – This is that software that is involved in the actual rooting.
How to Root the Phone Safety
- What is the Preparation Involved
- Switch off the phone. Take out all the SIM cards. Then you need to leave the microSD inside. In case there is no microSD, then insert one as we will need that later.
- Switch on the phone.
- Activate both OEM unlock and USB debugging.
- Go to settings.
- Go to “About Phone”.
- Tap on “Software Info”
- Tape Build number seven (7) times. You need to do it until “ Developer mode has been enabled” appears.
- Go back two times (twice).
- Go to “Developer options”
- Then enable “USB debugging” as well as “OEM Unlock”
- When notified “Allow access to device data”. Tap on “Allow”
- Copy “Magisk-vXXX.zip (XXX means version number of Magisk), to the SD card of the phone.
- Disconnect the phone from the computer when connected.
- How to load TWRP recovery
- Switch off the phone. Press volume down ( – ), home and power button.
- If “ Warning” appears on the phone, tap on “Volume up”
– Incase you see the Samsung logo. Remove the battery, place it again and keep on doing until you see “Warning” screen. - Then connect the phone to the computer.
- Also, connect the Z3X box to the computer.
- Launch SamsungToolPro.
- Go to “Flash” tab at the top.
- Click on “PDA” on the left side.
- Go where you downloaded TWRP (twrp_3.2.3-1_sm-g532.tar).
- Click “Flash”.
- The moment the phone reboots, remove the battery immediately. After that, disconnect the cable.
- Put the battery back on and then press Volume up (+), Home and power button.
- Incase you get to see a red text at the top which says “Recovery is not Seandroid Enforcing” then wait for a while and if not remove the battery, reinsert and press Volume (+), home and power buttons. Keep on trying until you see the red text at the top.
- As soon as you are booted into TWRP, swipe “swipe to allow modifications.”
How to root the phone
- Tap on “Install” on TWRP.
- Tap on “Select Storage”.
- Then tap on ‘Micro SD card.”
- Tap “OK”
- Then select “Magisk-vXXX.zip” (XXX means the version number of Magisk).
- Swipe “swipe to confirm Flash” to start flashing Magisk.
- Wait for it to flash. (Ignore the red errors if you see any).
- Once done, tap “Reboot System”.
- When notified, tap on “Do not install.”
- If you see the yellow text “Set Warranty Bit: kernel(0)”, it means everything correctly so far.
- Plug the phone into the computer.
- When notified “Allow access to device data.” Tap on “Allow”.
- Go where you downloaded Magisk (Magisk-vXXX.zip) (XXX means the version of Magisk) and open it.
- Extract “Magisk.apk” under the “common” directory, anywhere (just remember where you extracted it).
- Copy the extracted “Magisk.apk” to the SD card of your phone.
- Go and install the “magisk.apk” on your phone.
-When notified, tap on “Settings” and enable “Unknown sources” - Click “Open” once done.
- If both “Magisk”, and “Magisk Manager” have a green check. Then you are ready to proceed to the next step.
How to unlock the phone
- Go back to SamsungToolPro.
- Click on “Model” tab on the top. Type in “G532G” “G532M” or “G532F”, without the quotation marks. Select your model from the list and then click “Select” on the bottom.
- Click on the “Unlock” tab at the top.
- Click on “Read Phone Info” on the right.
- On the right side of “ADB”, click the arrow and select the only option there.
- Unlock the screen of your phone.
- Click “Unlock”.
- When notified to allow USB debugging, check “Always allow from this computer”, and then tap “OK”.
- Wait for the phone to ask for Superuser permission or access. Tap “Grant” or “OK”
- Once done, the phone should reboot. Your phone is now SIM unlocked at this point.
- Once booted. Turn it off.
- Put your SIM card. And turn the phone back on.
- Use the phone normally.
Top brands we unlock:


Related Post:
- Risk-Free Techniques To Unlock An iPhone

- Exclusive ways to connect TikiTunes to iPhone easily

- Find The Procedure To Change Siri’s Voice On Your iPhone

- How To Get Instant Cash For Your Old Phone With Better Resale Value

- Top 10 Upcoming Smartphones in 2020

- How To Unlock Android Phones- Complete Guide.